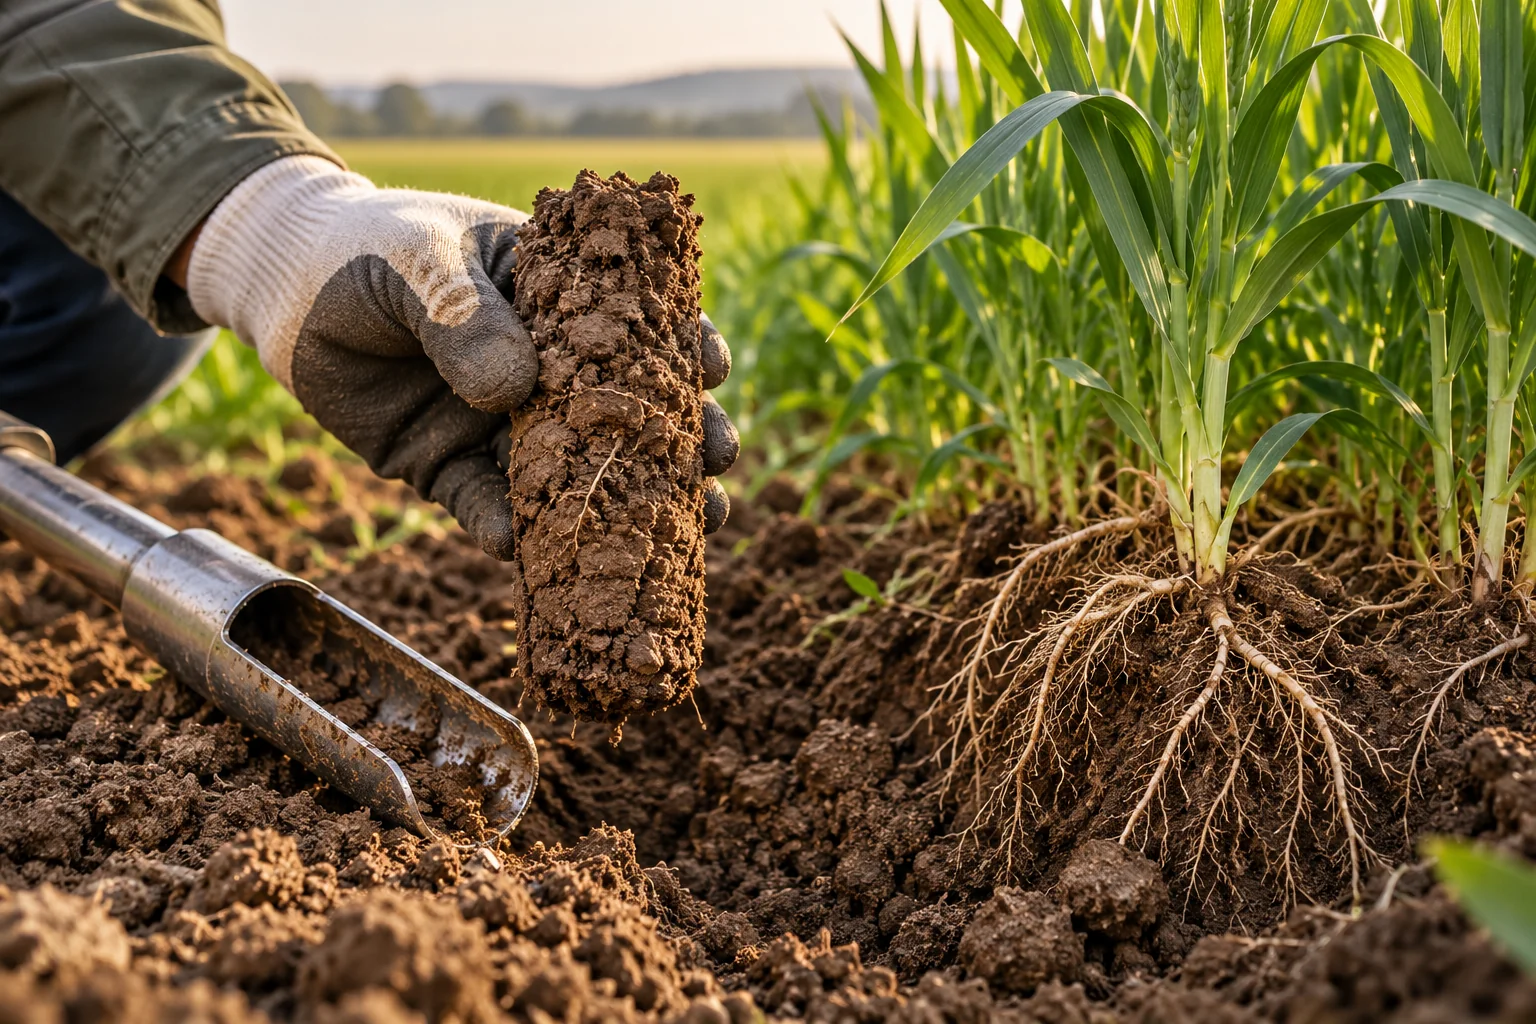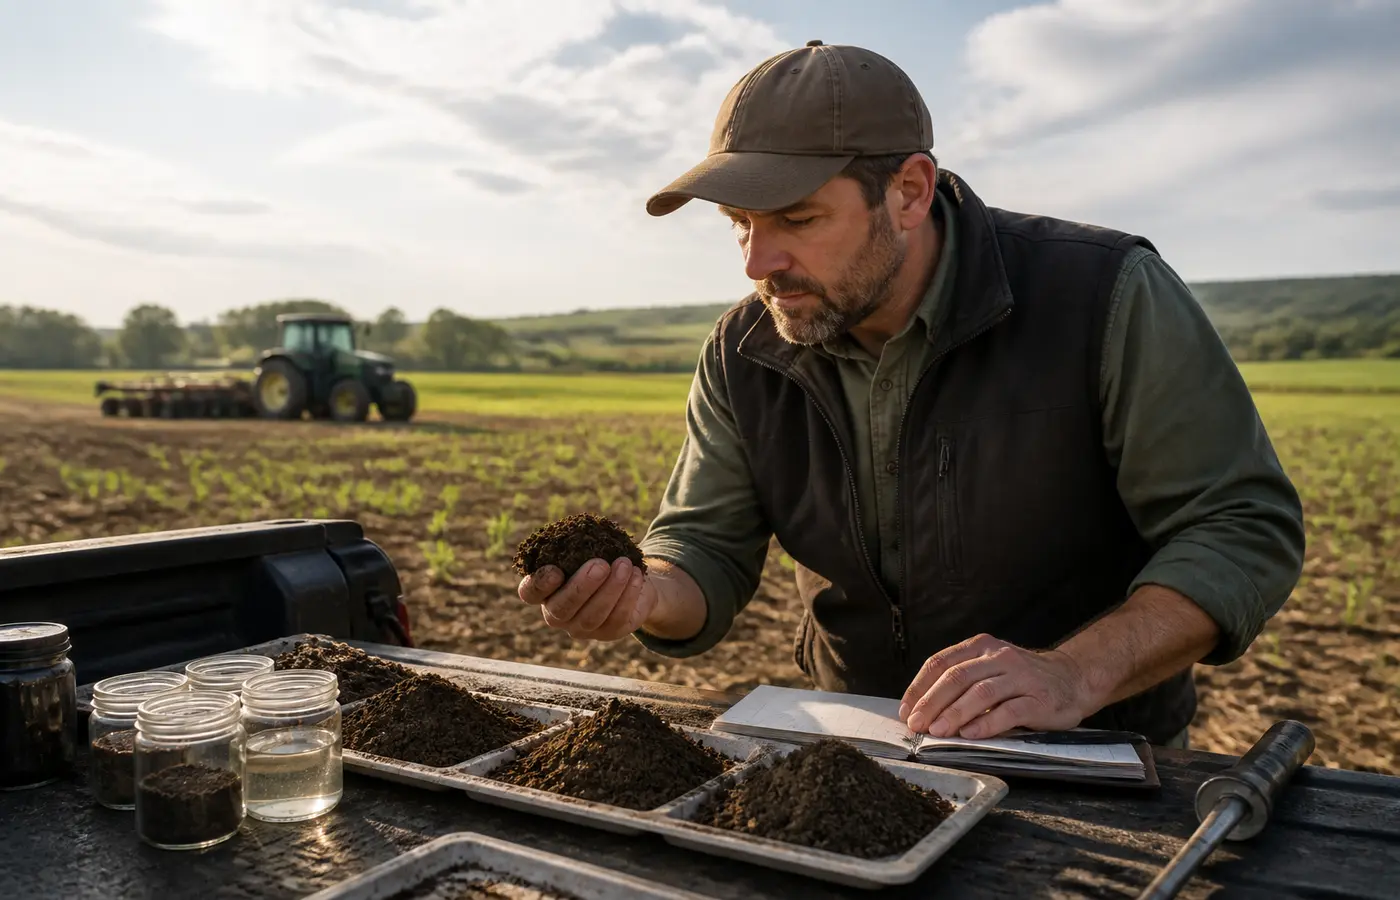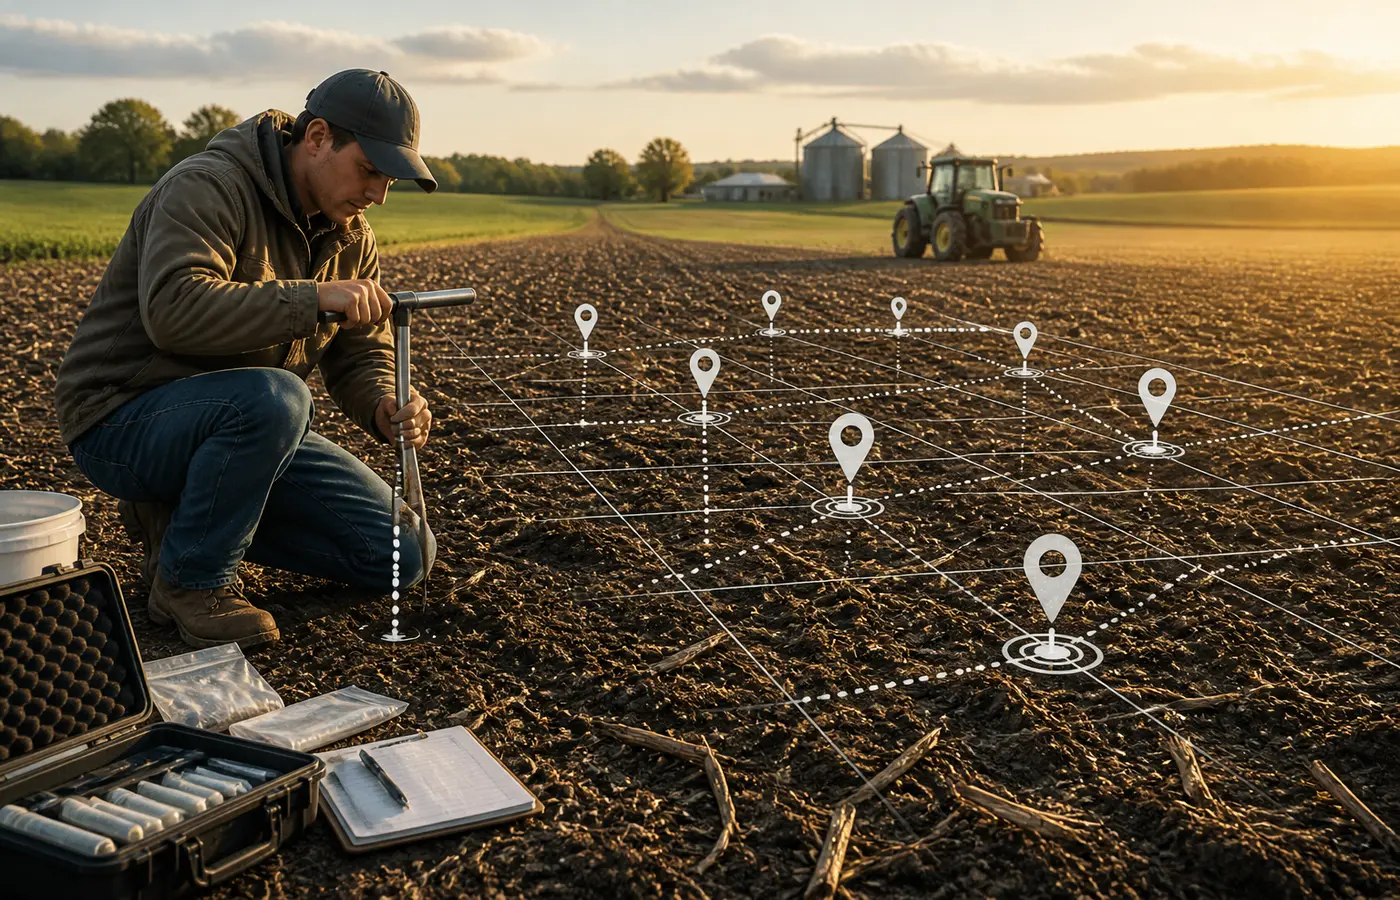
Repeat soil testing only becomes useful for comparison when the team can explain what was sampled, where it was sampled, and how the sample was collected. A laboratory report may be precise about the material received, but it cannot correct a changed sampling point, a different depth, or an undocumented field operation before collection.
The practical task is not to make every sampling event identical. Weather, soil moisture, crop cover and field access will vary. The task is to preserve a sampling design and leave a clear enough record that a later reviewer can distinguish a possible soil change from a change in the collection process.
This guide focuses on collection consistency. It does not interpret soil-health indicators or prescribe fertiliser, lime, manure or other inputs.
Start with a repeatable sampling unit
Before collecting a soil core, define what each future laboratory result is intended to represent. That unit might be:
- a fixed point in a field;
- a GPS grid point;
- a management zone with a stated boundary;
- a defined area within a field; or
- a recurring composite sample from a documented route.
The right choice depends on the farm’s purpose, field variability, laboratory instructions and the resources available for mapping and collection. A fixed point can support close repeat observation at that position. A zone or composite approach may better represent an area managed as one unit. Neither approach is automatically best in every setting.
What matters for a year-on-year or season-to-season comparison is that the unit remains understandable and repeatable. Wisconsin Crops and Soils guidance identifies both GPS grid-point and conventional approaches and emphasises returning to the same sampling locations at each event. Illinois Extension similarly advises taking samples from the same field points each time.
For an operations team, this means giving each unit a stable identifier before the first sample is sent. Avoid labels that only make sense to one person, such as “near the old gate” or “west field sample.” A label such as Field 03 / Zone B / North composite is more useful when it is linked to a map, field boundary and collection record.
Record locations so another person can find them
A location record should survive staff changes, contractor handovers and changes in mobile-phone mapping applications. GPS coordinates can be useful, but coordinates alone may not explain how a composite sample was formed. A practical record combines a location reference with a collection pattern.
ACA’s operating framework is to record the following for every sampling unit:
| Record item | What to capture | Why it matters later |
|---|---|---|
| Sampling-unit ID | Field name, zone name and stable code | Links the sample to a known area and prior reports |
| Location reference | GPS point, mapped polygon, grid reference or marked field map | Helps a future collector return to the intended area |
| Landmarks | Gates, irrigation lines, tracks, tree rows or other durable references | Provides a cross-check when maps or devices change |
| Collection pattern | Route, grid, transect or area covered for the composite | Explains how individual cores represented the unit |
| Number of cores | Count of cores combined into the submitted sample | Shows whether the collection approach changed |
| Avoided areas | Headlands, stock camps, fertiliser bands, wet patches or other exclusions | Clarifies what was deliberately not represented |
This is an internal operating framework, not a mandatory institutional form. Its value is practical: a later team member should be able to reconstruct the intended sampling unit without relying on memory.
If the original point or area cannot be reached because of changed infrastructure, erosion, drainage works or another field change, do not quietly substitute a nearby place. Record the reason, map the replacement location and flag the break in continuity. The new location may still be useful, but it should not be treated as an uninterrupted series without qualification.
Keep sampling depth and collection method stable
Depth is part of the sample definition. A result from one depth is not automatically comparable with a result from another depth, even if both samples came from the same mapped point.
The University of Nebraska–Lincoln’s soil-sampling guidance states that resampling at the same depth is important for accurate comparison over time and notes that soil-test values can differ by depth. This is a collection issue as much as a laboratory issue: changing the soil layer changes the material being submitted.
Do not adopt a universal depth from a general article. Appropriate depths can depend on the purpose of the test, crop system, local calibration and laboratory instructions. Instead, decide the required depth with the relevant local guidance or laboratory method, then make that depth visible in the field record.
The Michigan State University field guide advises selecting a depth, applying it consistently and marking the collection tool. In practice, your team can improve repeatability by:
- marking a probe, auger or spade at the chosen depth;
- recording the target depth and the unit used;
- collecting cores consistently in relation to the soil surface;
- noting the tool used and whether it changed from the previous event;
- using a clean bucket or container for the intended composite; and
- recording how cores were mixed and how the laboratory subsample was taken.
The same MSU guide advises taking auger or probe samples perpendicular to the soil surface. That detail is useful because a tilted probe can change the effective depth of a core. It is not a substitute for field judgement where stony ground, residues, soil condition or equipment constraints affect collection. If the method had to change, write down how and why.
Use a consistent seasonal window, not an exact date
Trying to sample on the identical calendar date every year can create unnecessary operational pressure. A more workable control is a seasonal window: for example, a defined period after a recurring stage in the farm calendar, subject to field access and the purpose of testing.
Oregon State University Extension recommends taking samples at the same time of year when results will be compared from year to year. Wisconsin sampling guidance also notes that sampling time can affect some soil-test values.
A seasonal window supports comparison; it does not make conditions identical. Soil moisture, temperature, crop growth, recent rainfall and field traffic may still differ. Some test responses to timing are method- and context-dependent, so it is safer to document the timing than to assume one seasonal effect applies to every test result.
Set a repeatable window that fits the operation, then record the collection date and the interval from relevant field activity. Relevant activity may include:
- harvest or residue removal;
- planting or establishment work;
- irrigation or flooding where applicable;
- fertiliser, lime, manure or compost application;
- cultivation, subsoiling or other soil disturbance; and
- grazing, traffic or construction activity affecting the sampling unit.
Illinois Extension advises collecting samples at the same time of year and avoiding sampling within a period after lime or fertiliser treatment. The appropriate interval depends on the material, test objective, laboratory method and local guidance. Rather than inserting a generic waiting period into a farm procedure, record the actual event and date so the laboratory report can be reviewed in context.
Capture collection context on the sample record
A chain-of-context record does not establish why a result changed. It does, however, give the farm and its advisers a way to check whether the sampling process changed before drawing a management conclusion.
For each submitted sample, retain a record containing:
- Sample ID and laboratory submission ID.
- Field and sampling-unit ID.
- Map reference, coordinates or linked field map.
- Date, approximate time and collector name.
- Target depth and the tool used.
- Number of cores and the route or pattern used to collect them.
- Crop, cover crop, residue or bare-soil status at collection.
- Recent operations and dates, including relevant applications or disturbance.
- Visible anomalies, such as ponding, compaction symptoms, unusual residue accumulation or a missed portion of the route.
- Moisture, access or weather conditions that materially affected collection.
- Laboratory name and requested test package.
Keep this record with the laboratory report, not only in a notebook or a staff member’s phone. A shared field-record system, scanned form or spreadsheet can all work if the sample identifier links the collection note, map and result.
It is also useful to record exceptions plainly. “Two planned cores could not be collected due to standing water” is more valuable than a complete-looking record that conceals a deviation. Exceptions do not make the sample unusable; they tell the reviewer how much confidence to place in a direct comparison.
Review comparability before treating results as a trend
Before describing two laboratory reports as a trend, carry out a short comparability review. This should be a handover step between the person holding the laboratory results and the person responsible for field records.
Use the following questions:
- Does each result represent the same named sampling unit?
- Was the same fixed point, mapped area, zone boundary or composite route used?
- Was the stated sampling depth the same?
- Was the same or a materially similar collection tool and core-combining method used?
- Were samples taken in the same seasonal window?
- Are recent applications, cultivation or other disturbance recorded for both events?
- Was the same laboratory method or requested test package used, where this is known?
- Are there notes showing access problems, moisture differences or deviations from the normal route?
A mismatch does not require discarding the newer result. It requires a label. Mark it as “not directly comparable,” “partially comparable,” or “comparison requires review,” depending on what changed. This is preferable to forcing a year-on-year conclusion from samples that represent different soil layers, areas or collection conditions.
The extension materials cited here are United States resources. They support broad principles of consistency in location, depth and timing, but they do not establish Chinese laboratory methods, local standards, nutrient recommendations or farm operating requirements. Where your laboratory, buyer, agronomist or local authority provides a required sampling protocol, that protocol should govern the technical method.
Frequently asked questions
Do soil samples need to come from exactly the same spot every year?
Not always. The key is to repeat the defined sampling unit. For a fixed-point design, that may mean returning to the same point. For a management zone or composite sample, it means using the same mapped area and a documented, comparable collection pattern. If the location approach changes, record the change rather than treating the results as a seamless series.
Why does sampling depth matter when comparing soil test results?
Different depths contain different proportions of surface material, roots, residues and subsurface soil. The Nebraska guidance notes that values can differ by depth and recommends using the same depth when resampling for comparison. Record the selected depth and use a marked tool or another consistent control during every collection event.
Can soil samples taken in spring be compared with samples taken in autumn?
They may still be useful records, but they should not automatically be treated as directly equivalent. Oregon State University Extension advises sampling at the same time of year for year-to-year comparison, and Wisconsin guidance notes that timing can affect some test values. Flag the seasonal difference and review it alongside depth, location and recent field activity.
What should be written on a repeat soil-sampling record?
At minimum, record the sampling-unit ID, location reference, date, collector, depth, tool, number of cores, collection pattern, crop or cover status, recent operations, notable field conditions, laboratory and requested test package. Keep the record linked to the laboratory report and the field map.
Make the next sampling event easier to repeat
Before the next collection round, prepare one sampling sheet for each field or management unit and attach it to the map used by the collector. Confirm the unit name, location reference, target depth, route and required laboratory package before entering the field. After collection, store the completed sheet with the laboratory report.
That small discipline will not remove natural spatial or seasonal variation. It will give your team a stronger basis for deciding whether an observed difference is worth investigating—and whether the two samples were comparable enough to discuss in the first place.
Source and further reading
ACA’s practical examples and working checklists are independent editorial analysis. The linked source provides the underlying reference; it does not endorse this article.